Effective project and resource management often hinge on one crucial tool: the project timeline. Whether you rely on basic Excel spreadsheets or complex Gantt charts for project planning, a well-structured timeline gives you the framework to plan and organize complex projects.
...so how do you build the right one, you ask? Well, let’s walk you through the process right now.
[fs-toc-omit]What is a project timeline?
A project timeline is a visual management tool that displays all the tasks needed to complete your project and their completion dates. It helps teams track progress, communicate deadlines, and manage expectations while making it easier to prioritize work over the long term.

In other words: a timeline gives you the big picture of your deliverables, which helps ensure a successful project without delays or missed due dates. It’s basically the schedule project baseline you need to monitor and control progress over time.
People may use the terms schedule and timeline interchangeably—but while they’re similar tools for planning projects, they have some differences:
- A project schedule typically focuses on the individual tasks that need to be done with their corresponding due dates
- A timeline is a visualization of time on a line, showcasing the chronological flow of events and milestones across a project’s duration.
Ideally, you’d want to use them together since they complement one another by looking at the same thing (a project) from different angles. For example, a project schedule shows all the activities required to finish a project, while a timeline includes the order and flow of tasks to be completed.
➡️ And what about a master schedule? Ha!, take a look at the recommended link to see how it differs from project schedules and timelines.
3 common types of project timelines
There are three main types of project timelines: Gantt charts, PERT charts, and calendar/chronological timelines.
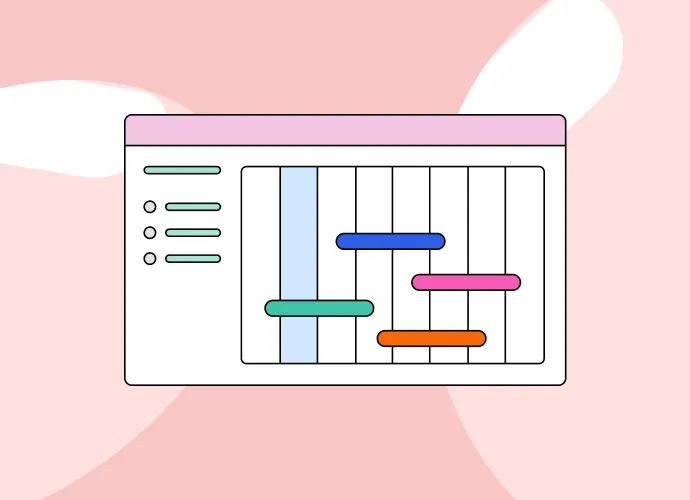
1. Gantt chart
Notable history fact: this type of bar chart gained popularity during World War I, when it was used to help military planners organize their logistics operations. It’s named after American engineer William S. Gantt, who invented the chart a few years prior.
In his original design, Gantt created a horizontal line representing project duration. Then he added vertical lines at regular intervals along its length, where each interval represented a single day. At the top of the graph, he placed a bar showing the start date of the project. And at the bottom, he showed the completion date.
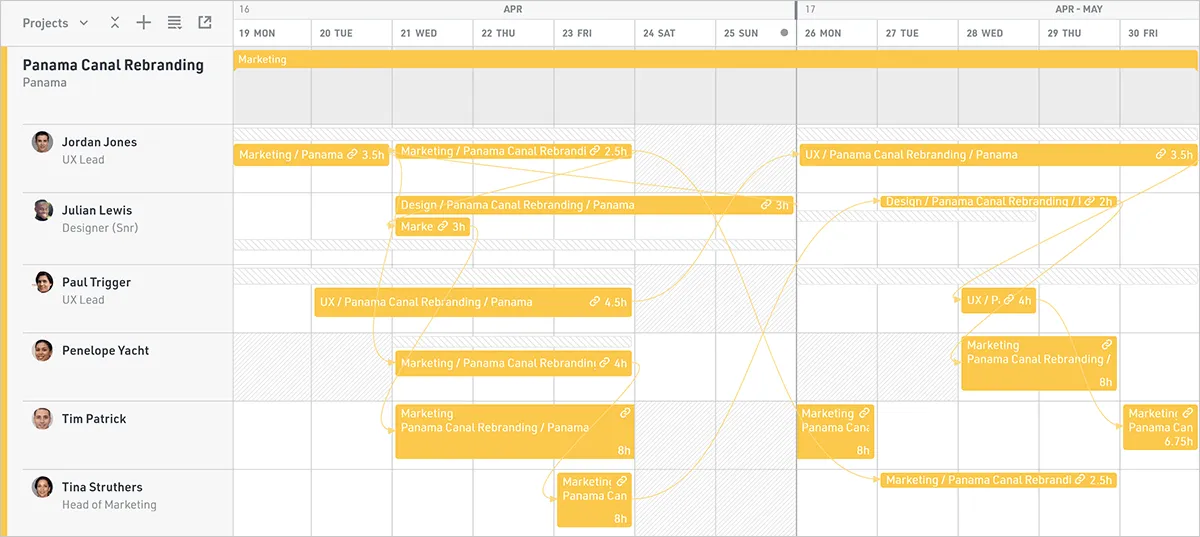
Today, a modern and more visual Gantt chart would look like this Schedule visualization in Float (hello 👋):

The color-coded, drag-and-drop bars represent the various tasks that need to be completed. Each bar stretches across the calendar, showing how many days it should take to finish the job. The person assigned to the task is on the left; if more than one activity takes place on the same day, then multiple bars cover the area.
On top of showing the due date, some Gantt charts include information such as the estimated number of person-hours required to perform the task, task dependencies, and task priorities.
2. PERT chart
A project evaluation review technique (or PERT) chart is similar to a Gantt chart but focuses more on estimating than scheduling. Instead of using tasks color-coded to a project, it uses a diagram with rectangles and circles as nodes to represent key milestones. These nodes are connected by arrows indicating dependencies between them.
For example, if there’s an arrow connecting node 1 to node 2, completing milestone 2 requires finishing milestone 1 first. Similarly, if there's an edge (representing a dependency) between 3 and 4, then milestone 3 must come first.
Here’s an example of a traditional PERT chart:

PERT charts today have become more interactive and flexible, with functionality that lets you link tasks and allocations, shift them around, and keep track of changes.

When project needs and resources change, it’s simple to adapt the schedule to accommodate them and stay on top of tasks. If you need to move or extend a task, the softwar will automatically shift the second task the same amount of time forward or backward.
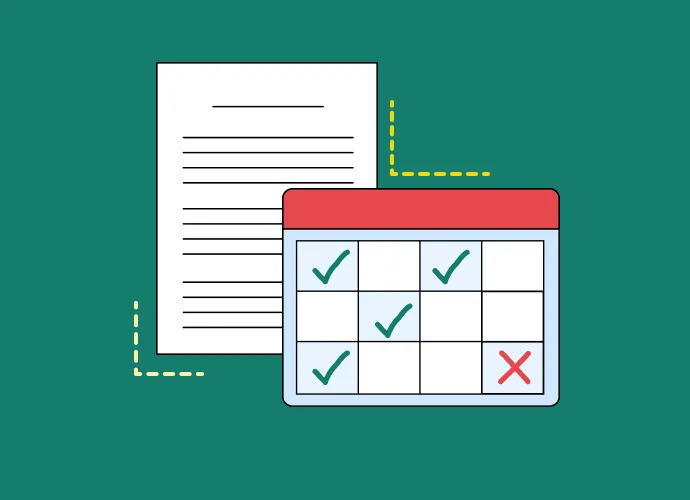
3. Calendar/chronological timeline
A calendar timeline shows each event happening in chronological order. It looks similar to a traditional calendar, except it displays the entire life cycle of your project, making it easier to visualize project roadmaps.
You can use it to plan future projects or even track the progress of current ones. It also makes planning multi-year projects easier since you can identify what will happen in year X versus year Y. This allows you to manage expectations better.
A project timeline consists of three components:
- List of project tasks
- Task start and end dates
- Task duration
Here is another example from Float, where you can see a calendar timeline with task dependencies, task priorities, or product roadmaps, offering you a quick glimpse into any project.

<cta-box>
<image-color="yellow">
View your team’s capacity, scheduled work, and project timelines with Float
Float is the #1 rated resource management software on G2 for planning projects and scheduling your team’s time. Create accurate project timelines based on your team’s real capacity & keep work on track.
<cta-button>Get your free trial</cta-button>
</cta-box>
Why do I need a project timeline?
Keeping your projects and team members organized and productive is challenging without a way to visualize tasks and deadlines. This is what makes project timelines a must for project managers.
Here’s a look at some of the ways you can benefit from using a project timeline:
Meet deadlines with precise resource allocation
Project timelines give you a much-needed overview of resource utilization and project dependencies, so you can identify potential bottlenecks before they impact delivery dates. When you map team capacity against project demands, you can spot (and avoid) scheduling conflicts, resource constraints, and dependency chains that could derail your timeline.
Pro tip: dedicated resource management software like Float helps you track resource utilization rates, set buffer times for unexpected delays, and automatically flag overlapping commitments.
Maintain real-time visibility across teams
A centralized project timeline can be the single source of truth for resource allocation and project progress. When integrated with project management software, it gives you (and the rest of your team) instant visibility into resource utilization rates, team capacity, and even interdepartmental dependencies.
Note: this real-time visibility becomes especially crucial during schedule compression or fast-tracking initiatives. When your timelines need adjustment, dedicated software tends to use alert notifications so all stakeholders can immediately assess the impact on their resources and adjust their capacity planning accordingly.
Prevent and control scope creep
Scope creep won’t just affects your deliverables, but can also create unexpected resource demands that can destabilize your entire project portfolio. A well-maintained project timeline helps identify resource overallocation and scope deviation patterns early.
For example, when task completion times consistently exceed estimates or resource utilization rates spike unexpectedly, your timeline can reveal these patterns. This allows you to implement corrective measures (such as resource reallocation or scope adjustment) before they cascade into larger portfolio-wide issues.
Optimize resource allocation and capacity planning
When you track resources and timelines alongside each other, you can make data-driven decisions about team expansion, resource allocation, and workflow optimization. The timeline becomes your early warning system for both under-utilization and burnout risks, so you can be proactive about workforce planning.
Avoid bottlenecks
Bottlenecks emerge when critical tasks stall due to resource constraints or dependency conflicts. In some cases, these disruptions go unnoticed until they trigger missed deadlines or compromise client deliverables—or worse, cause the loss of a client.
Project timelines make these potential bottlenecks visible by clearly displaying task dependencies and progress, also highlighting constraints before they impact delivery.
<tip>
Pro tip: you need the right tool
Of course, all of the above is only possible when you’re using the right tools. The Buzzfeed team knows this all too well: In any given month, they used to publish between 100 and 200 video projects. So they needed a way to manage it all using software—particularly, a resource management tool that could handle large workloads and intense timelines.
The solution: adopting Float as their go-to resource management software.
“We needed a resourcing software that could handle our workload, without outages and lag time, and that could make updates in real time,” says Richard Klopfenstein, post-production engineer at Buzzfeed.
It took only a week to begin using it and a month to transition fully. Now, Buzzfeed uses Float daily to manage their projects.
</tip>
<cta-box>
<image-color="yellow">
Plan your resources on a single shared, live project timeline
Float is the #1 rated resource management software on G2 to plan projects and schedule resources. Create visual representations of project timelines, make updates in real time, and keep everyone in the loop on their assigned work.
<cta-button>Get your free trial</cta-button>
</cta-box>
8 steps to create a project timeline that improves your process
There are eight critical steps in creating a project timeline:
- Analyze the project brief
- Make a work breakdown structure
- Set mini-milestones
- Map project and task dependencies
- Estimate timings for each task
- Determine available resources
- Map the project onto a timeline
- Analyze and plan for the future
1. Analyze the project brief
Before starting, review the project brief or project charter thoroughly. Make sure you understand what needs to happen by identifying:
- What will be produced
- Who will produce it
- Where it will go
- When it’s due
- How much it will cost to complete
Once you have all the necessary details, begin planning your project timeline. You’ll also have an idea of the budget required to forecast delivery and a way to track spend in real time.
2. Make a work breakdown structure (WBS)
A WBS breaks down tasks into smaller pieces, each representing a step in completing a larger goal. It’s used to organize workflows and track dependencies for all tasks.
You start by breaking down the entire project into its smallest possible units. Then, break those units further into subtasks. Continue doing this until you’ve broken every part of the project down into individual tasks.
For example, if you were building a house, you’d start at the foundation level first. From there, you’d move on to framing, then roofing, etc. Once you got to the top, you’d continue working from the inside out.
You should always try to group as many moving parts together as possible. Otherwise, you risk having multiple teams working simultaneously on different aspects of the same task.
The goal is to avoid confusion and ensure everyone stays focused on the right project priorities.
3. Set mini-milestones
Next, set the milestones required to complete the project. These will guide project progress throughout its lifecycle. For instance, you may want to plan milestone dates like Design phase or Build.
Then break down these milestones into smaller milestones. For example, if you have a branding project, you can have the following under Brand Design:
- Select brand colors
- Choose branded font
- Draw logo concepts
- Design final logo
Tracking small milestones allows project managers to track progress and key deadlines better.
4. Map project and task dependencies
Now that you have a clear picture of where things stand within the project, map out any potential dependencies between tasks. Look closely to ensure you don’t skip seemingly unrelated tasks (otherwise, you’ll have unwanted bottlenecks to deal with).
This ensures nothing falls through the cracks and makes it easier to prioritize tasks based on importance.
With Float, you can link task dependencies to visualize project workflows and make bulk changes, which helps save time and keeps your team agile.
5. Estimate timings for each task
After mapping out essential project milestones and a task list, it’s time to estimate how long each should take. This way, you can determine how many people you need for each task and how much of their time they must dedicate.
Resource planning is critical to on-time project delivery.
You can estimate timing for tasks by looking at your history if you use time tracking. Figure out how long it normally takes to complete the same or a similar task. Does it vary based on who's performing the task?
Factor all of this to ensure you're making adjustments to project estimations based on your team's capacity and speed.
6. Determine available resources
Review your current resource availability, as you may be able to add more staff members to finish tasks faster. Or maybe some of them are already stretched thin. Either way, you now have an idea of whether you have enough staffing to meet upcoming deadlines.
If not, adjust your estimates accordingly, ask other stakeholders to pitch in, or get outside help from temp or contract workers. Communicate clearly, so everyone knows exactly what needs to happen next.
<tip>
You don’t need to start from a blank page!
Use our project timeline templates to save time and make sure you have everything you need to plan schedules effectively.
</tip>
7. Map your project onto a timeline
Visualizing your project timeline makes it easier to see bottlenecks, project schedules, deadlines, and team capacity. This is only possible by adopting a resource management tool like Float.
Float is equipped with key features for project management that let you add, edit, and track tasks on the go. The project planning features allow you to create project phases to group tasks and shift timelines in a single click.
If you are already using a project management tool, Float offers several integrations with project management software like Asana, Jira, Teamwork, and Trello.
8. Analyze and plan for next time
Once you’ve mapped out your project management timeline, you’ll want to analyze where things went wrong last time around. Was there too little communication between departments? Did one department fall behind schedule? Were there any unforeseen issues along the way?
If the answer is yes to any of those questions, address them fully before starting again. To do so effectively, look back at previous projects and see if you should improve processes, change roles, or hire new employees.
PS: Float has dedicated project reports showing all the numbers needed to keep projects on track. It also makes planning future projects more accurate.
[fs-toc-omit]Final thoughts: make project and resource planning easier with timelines
Managing people and projects is tough work. Why make your job harder than you have to?
With the right project planning tools, you can streamline your efforts and avoid delays. For example, Float helps you manage team availability and project timelnes, all in the same place. You can even set custom work days and hours, schedule time off, import local public holidays, and sync with your Google or Outlook Calendar to get a live view of who’s available and when. Project timelines have never been more informative, and accurate.
<cta-box>
<image-color="blue">
Better project timelines with the #1 rated resource management software
The world's top teams use Float to plan their projects, manage capacity, and schedule resources. Try it free for 30 days, no credit card required.
<cta-button>Try for free</cta-button>
</cta-box>
FAQs
Some FAQs about project timelines
Start by reviewing your project scope to identify deliverables and break them into smaller tasks. Then, set time estimates, map out dependencies, and arrange everything in a timeline.
Dedicated project and resource management tools like Float make the task easier by giving you a clear, visual project plan that adapts as tasks and priorities change.
The main differences between a project schedule and project timeline lie in their goal and the level of detail included in each. A project schedule shows collaborators tactical task-level information related to a project, such as task assignments, details, and durations; a project timeline offers a high-level chronological overview of a project and is typically shown as a chart. While schedules bring focus on the tasks itself, timelines help stakeholders understand the broader progression of a project and its main deliverables.
Project timeline management is about organizing tasks, tracking progress, and adjusting schedules to keep your project on time and budget. A dedicated tool like Float might makes this activity simple with tools and functionality that help visualize timelines, manage resources, and ensure due dates are met.