Resourceful
In-depth tactical advice about managing resources and workloads, planning capacity, and avoiding over-allocation effectively—with (and without) Float.
Thank you! Your submission has been received!
Oops! Something went wrong while submitting the form.


Resource management
What will work be like in 2062?
Let’s zoom past flying cars and robot assistants to peek at what work might look like in 2062.

Content Marketer
Resource management
What will work be like in 2062?
Let’s zoom past flying cars and robot assistants to peek at what work might look like in 2062.
Content Marketer

Resource management
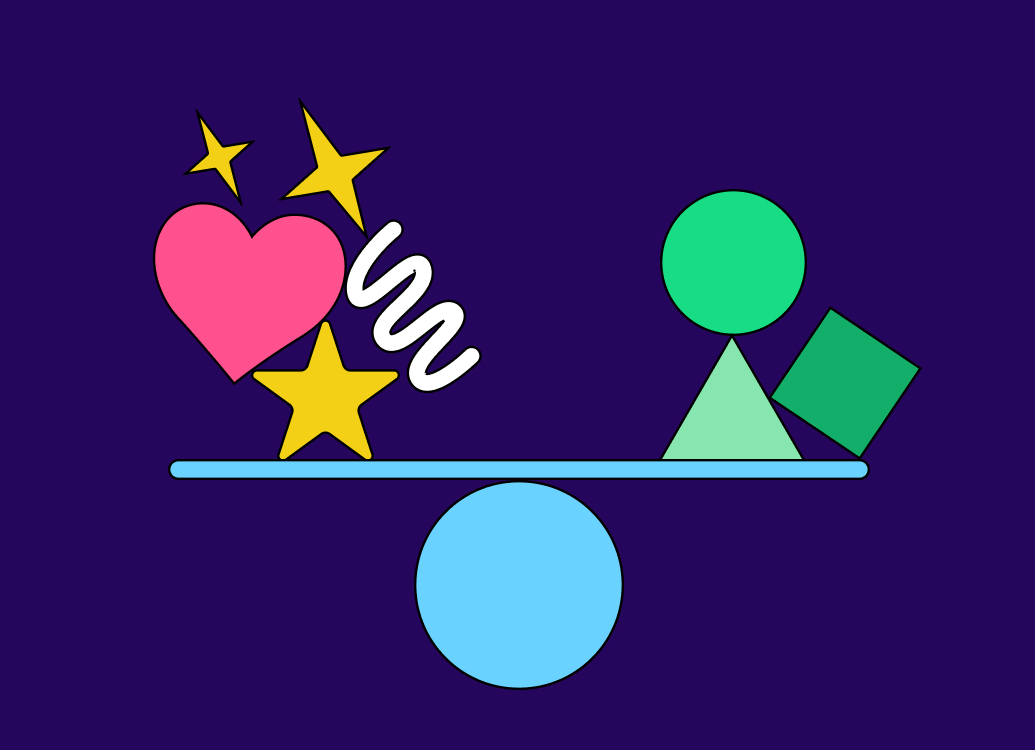
Is your rectangle red or green?
From utilization rates to productivity tracking, we explore how to make measurements work for your team, not against them.
Content Marketer
Resource management
What’s going on, Number 17?
From utilization rates to productivity tracking, we explore how to make measurements work for your team, not against them.
Content Marketer
Time tracking
The resource manager’s guide to accurate time tracking: 4 tried-and-true methods
A tactical guide to introducing time tracking to your team without killing morale: practical methods, clear guidelines, and real examples.

Content Lead
Time tracking
How to Track Time Spent on Tasks: 4 Methods that Work
A tactical guide to introducing time tracking to your team without killing morale: practical methods, clear guidelines, and real examples.
Content Lead
Resource management
The (he)art and science of resource management
Scientific management revolutionized work in the 20th century. In the 21st, the best managers don’t just optimize for efficiency: they balance it with humanity.
Content Marketer

Resource management
The (he)art and science of resource management
Scientific management revolutionized work in the 20th century. In the 21st, the best managers don’t just optimize for efficiency: they balance it with humanity.
Content Marketer
-min.png)
Resource management
Resourcing should be Switzerland: advice from former resource leaders at Facebook and Metalab
Expert insights on how to keep resourcing neutral, balanced, and effective in any organization.
Content Marketer

Resource management
What Creative Operations Can Learn from Switzerland about Resourcing
Expert insights on how to keep resourcing neutral, balanced, and effective in any organization.
Content Marketer

Resource management
Stop your resource chaos: 3 ways to create resource calendars to manage projects & teams
Here’s how a resource calendar can help you manage your team’s capacity and keep project work on track.
Content Lead

Resource management
Resource Calendar: How-to Guide for Project Managers
Here’s how a resource calendar can help you manage your team’s capacity and keep project work on track.
Content Lead

Project planning
The TV pilot mindset
TV networks use pilots to mitigate risk before green-lighting a full season. Resource managers should do the same.
Content Marketer
Project planning
The TV pilot mindset for resource managers
TV networks use pilots to mitigate risk before green-lighting a full season. Resource managers should do the same.
Content Marketer

Time tracking
What is time tracking—and is it worth your time?
If you want to learn the benefits of time tracking software and how to use it, you've come to the right place.
Content Lead

Time tracking
What Is Time Tracking (and Why Does Your Org Need It)?
If you want to learn the benefits of time tracking software and how to use it, you've come to the right place.
Content Lead

Project planning
The project prioritization puzzle
The challenge of fair allocation comes up often for resource and capacity managers—here is how to deal with it.
Content Marketer
Project planning
The project prioritization puzzle
The challenge of fair allocation comes up often for resource and capacity managers—here is how to deal with it.
Content Marketer

Resource management
The experts’ guide to resource management (and the 4 steps to do it right)
Resource management is a juggling act. With 20 balls. And they’re all on fire. But this guide makes it easier (we promise).
Content Lead

Resource management
Resource Management: Definition, Techniques & Steps
Resource management is a juggling act. With 20 balls. And they’re all on fire. But this guide makes it easier (we promise).
Content Lead
Resourceful ✉️
A monthly collection of insights, tactical advice, and the occasional spicy take about resource management from the team at Float.
Thank you! Your submission has been received!
Oops! Something went wrong while submitting the form.
